Call of Duty Warzone has a complex system of loadouts that does its best to translate the base game’s content into Battle Royale form. This is a compelling mix, but it can be difficult to build a great loadout. You need to think about weapons, perks, and killstreaks. However, finding loadout drops can make this a little more difficult, as can buying killstreaks. Using killstreaks at the right time to take the advantage is key to coming out on top of Battle Royale matches. So, you need to make sure you’re getting the best Call of Duty Warzone killstreaks.
Killstreaks can make a big difference in the outcome of the game. This is especially true in the late-game when players let rip with just about anything they’ve managed to scavenge or claim throughout the match. This guide covers the best killstreaks available, what they do, and why you should be going for them.
How to Get Killstreaks in Call of Duty Warzone

Unlike in the main game, Call of Duty Warzone takes a bit more skill to get killstreaks. This is what you need to do to make sure you’re getting as many as you can. There are a few different ways to get them, but none are easy:
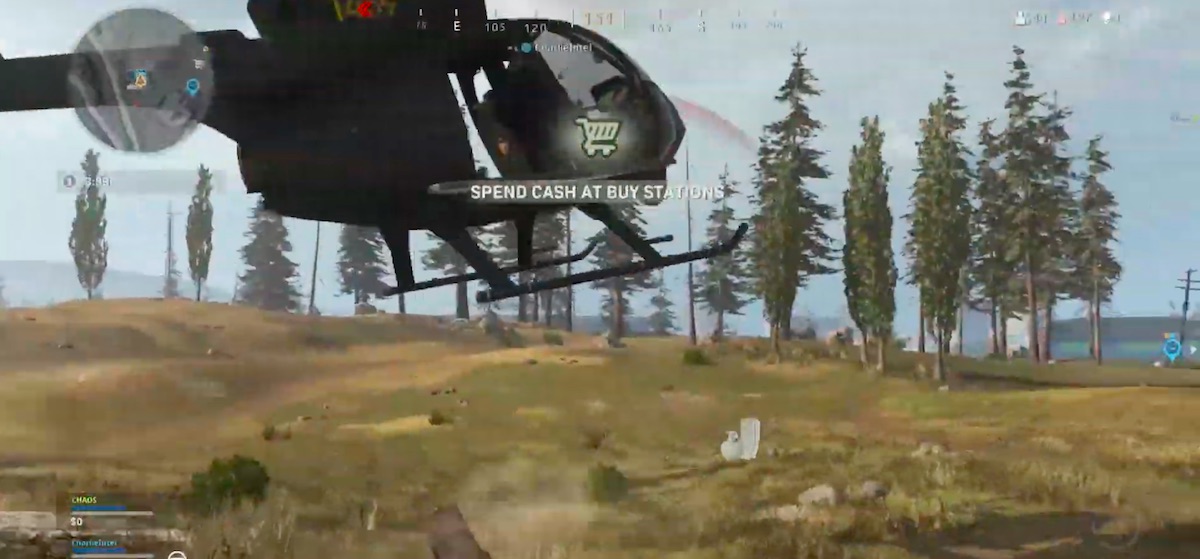
- The first method is simply to buy them from a Buy Station. This is definitely the most efficient and if you have the cash you should do this as the circle gets very small.
- You can also find them in Caches. However, this is completely at random so this is not as reliable as buying them.
- Buying them is by far the most convenient. However, you will have to be efficient at getting currency for this way to work.
All Call of Duty Warzone Killstreaks and Prices

These are all of the Call of Duty Killstreaks available for purchase in the game:
- Shield Turret – $2,000 – This killstreak is a deployable turret that you can operate. It does provide limited cover.
- Cluster Strike – $3,000 – This calls in mortar strike that land in clusters around a selected location.
- Precision Airstrike – $3,500 – This is a strike that drops missile on a target.
- UAV – $4,000 – This Is an automatic aerial vehicle. It highlights enemy locations on the map.
- Self-Revive Kit – $4,500 – This lets you use a revive kit to bring yourself back from the dead without burdening your teammates.
Field Upgrades
These are available in the same way as Killstreaks and offer similar advantages.
- Munitions Box – $5,000 – This is a box full of ammo. Really this is kind of overpriced but if you’re desperate it can be helpful.
- Loadout Drop Marker – $6,000 – This is really expensive but it drops loadouts for your team. This is a great killstreak to try and get early in the game. Getting loadouts is vital for kitting up quickly and easily.
The Best Call of Duty Warzone Killstreaks

Getting killstreaks is really important for coming out ahead in games. However, they aren’t all equal. If you really want to do well in games you’ve got to be using the best killstreaks that you can. These are some picks for the best Call of Duty Warzone killstreaks.
- Precision Strike – This doesn’t cost considerably more than the cluster strike but does significantly more damage. If possible teams should try and have one ready for when the circle gets small, it can allow you to completely dominate.
- Loadout Drop – These are an absolute essential to getting the right weapons and parks.
- UAV – This is definitely one of the best Call of Duty Killstreaks since it gives you a significant advantage over other players by knowing their locations. Try and deploy these at the right time and remember some perks make players immune, so you still need to be aware.
Those are all great choices for getting the right killstreaks. What’s important though is that you utilize these. Along with perks and the best weapons, these are what will set you apart in games of Call of Duty Warzone. Our other guides to the game can help you get to grips with the latest Battle Royale a lot quicker!
- The Best Call of Duty Modern Warfare Settings
- Call of Duty Warzone Tips and Tricks
- Call of Duty Warzone Weapons Guide
- Call of Duty Warzone Map Guide
- Call of Duty Warzone Perks Guide
- Pro Player Settings