Bind is a classic Valorant map and one has a lot of potential for many different Agents. If you’re looking to get the hang of Valorant you need to understand each Agent’s abilities, but also how they interact with the map. You’ll need to know things back to front to get your positioning right. So much of Valorant comes down to line of sight and knowing the geometry of the maps really well. Players with a better map knowledge have a lot more game sense and win more rounds. Bind is a pretty well-balanced map, but it’s set up to allow fast rotation and aggression. This Bind guide covers what you need to know about positioning, attacking, and defending on the map.
The unique mechanic in this Bind guide is teleporting. These spots allow you to zip around the map quickly. This can be a deceptive feature though. This map relies a lot on using your abilities to gain the advantage in certain angles. While helpful, the teleporters aren’t the entire conversation for Bind. This Bind map guide covers everything you need to know about overall strategy on Bind, not just using one glossy mechanics.
Bind Map Guide
 This Bind guide is split into attacking and defending. Since we’re talking about the overall strategy for approaching control of the map, it is easier to break it down into the two sides that you’ll be playing. This is what you need to know about each. It’s also worth quickly noting that we’re using some standard callout names for areas in this Bind guide.
Defending Bind Guide
Defending in Valorant has to start with the positioning of your agents. Each of the spike sites is going to need some relative defense. Some players are also needed to try to get control of the mid-area. This Bind guide covers defense strategies for each of these points.
Defending the A Site
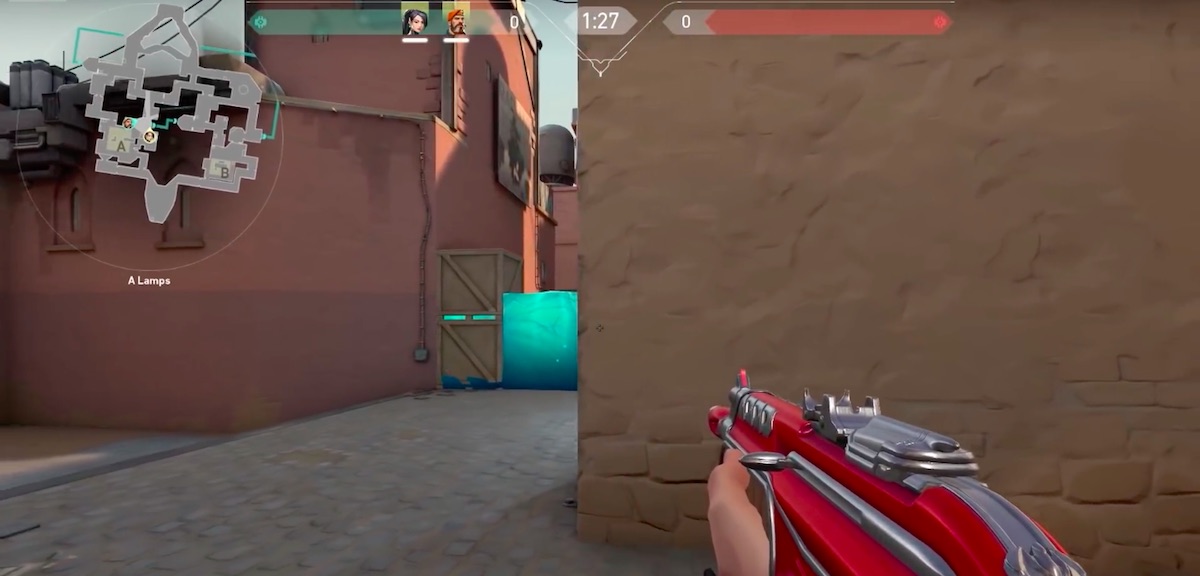
The A site is the spike area on the right of the overall Bind map. This is what you need to know:
- The best agents for defending the A site are Sage, Brimstone, Sova, Breach, and Viper.
- There are limited points of access to the A site. From the attacker’s spawn, they’ll come through the south side with Showers or the more open west side from either the teleporter or doors.
- The teleporter is easier for defending teams to use than attacking since they have to approach B site to get into position with it. Still try to listen out for the teleporter to neutralize any threats here.
- Utilities are best used to block off showers and the small entry point by doors.
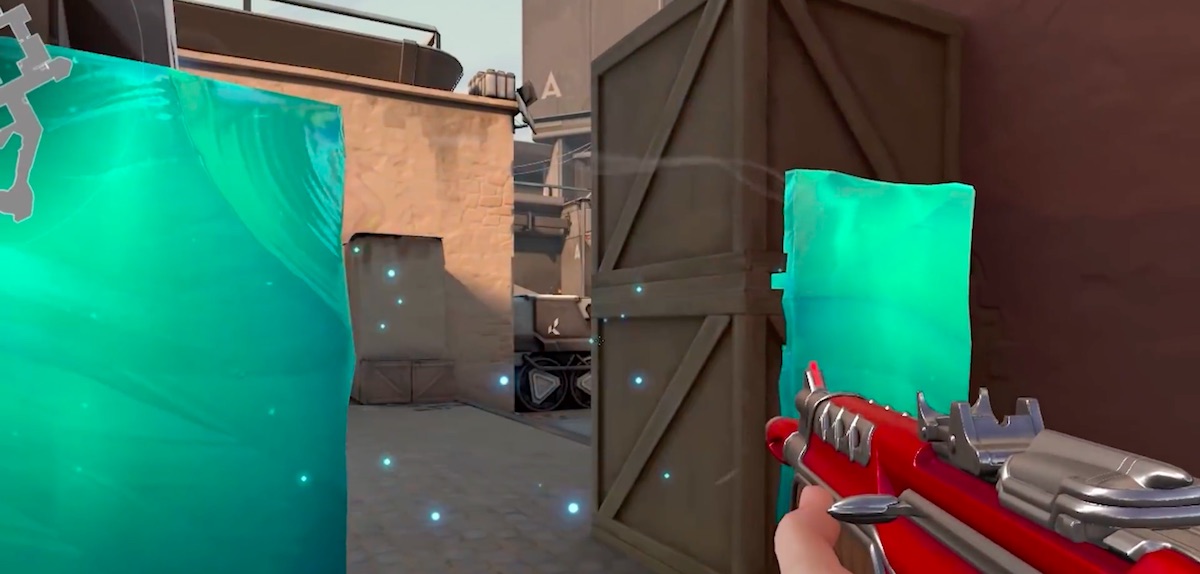
- Viper can use smoke bombs on the boxes around A. This entry point can be sealed really effectively with abilities since it gives you a unique angle of view of attackers.
- Using the boxes and other geometry looking into doors is your best defense against attacks from here.
- The other entry is Shower. This is a smaller entry and frankly one that can be controller by a single player if you’re fast enough with peeking.
- If more than one entry point is being breached, you’ll need to call in your players who are taking care of middle control. They’ll likely be closer to the A site than B anyway since the defending team doesn’t have much access to the center of the maps.
- When rotating from A to B to deal with an attack, you can use the teleport if you know that hookah is clear. If that’s where the attackers are though, it’s a risky move.
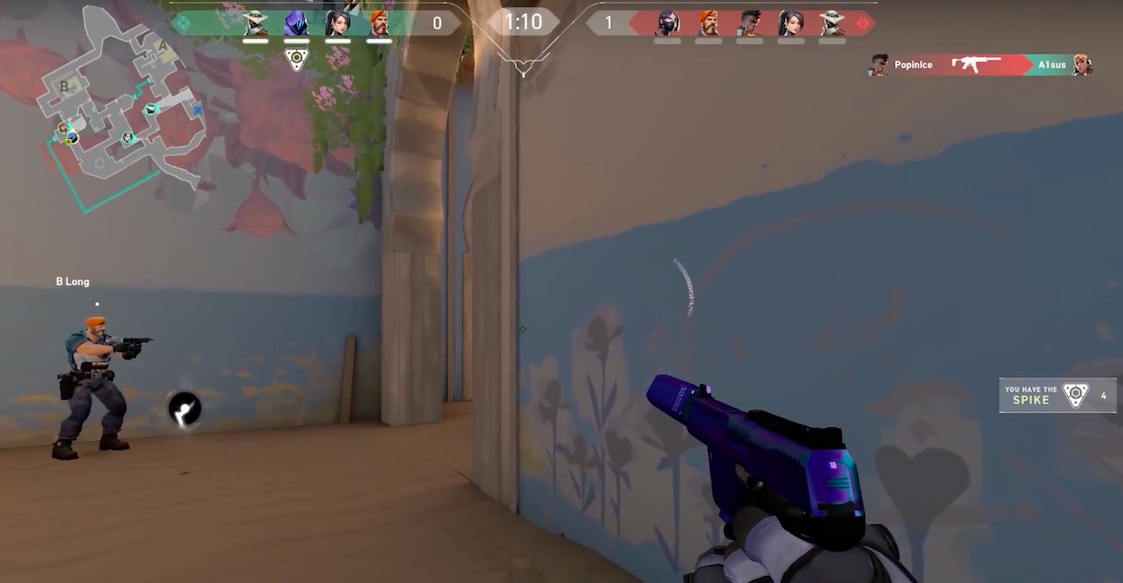
Defending the B Site
B Site is the other place you’re going to have to defend and it has more features than A. This is a spot where you may want to have more than one player since attackers often go for B in stronger force. This is what you need to know from this Bind guide about defending the B site:
- For basic positioning here, a player at Hookah and a player at Long is a good aggressive stance for defense. You can take control of the points of entry with lines of sight. If you’re being pushed back towards the actual site, you’re far enough out for your team to get there in time.
- There are three major chokepoints here: the doorway in Elbow, hookah, and the Long corridor.
- Hookah can be divided into the bottom and middle chokepoints. If teams penetrate through the bottom, you’ll need to pull in other players.
- Hookah can turn into an absolute bloodbath. However, entry to it is kind of longer than it should be.
- A well placed Cypher camera can be really effective in long since it can show you all the way up to the fountain.
- When under heavy attack or if you mess up when peaking, drop back to elbow and the opening of Hookah. By defending so far into the map, you have more space to retreat without conceding the area entirely.
- Rotating from B to A is a hassle. The easiest teleporter by Hookah can put you into the firing line far too easily. Walking all the way around the defender spawn takes too long. So you’re left with the long teleporter. While this is a bit of a hassle, you can use it to flank enemies attacking by Showers.
Bind Guide – Attacking on Bind
Attacking is always a more difficult task! Especially, if you’re up against a decent defending team. When approaching attacking, you need to decide if you’re going for A or B. Bind doesn’t have enough of a middle ground to both contesting. Instead, players are essentially funneled towards one or two sites. These are some strategies for attacking each:
Taking A Site
- Attacking the A site is usually spread between four players. Two entering from showers, and two from doors.
- A lot of players peak early on the A side. Managing to push through to U Hall can help you break a stalemate that would develop.
- Viper and Brimstone work great to take A from the center. Viper’s toxic screen breaks the normal site lines.
- Brimstone can do a similar thing with his smokes, but even more effectively as they’re a big hindrance.
- Having others come through showers can flank defenders focused on the center.
- Showers is easier to defend with a much clearer line of sight for the defending side. So, attacking from mid to draw defenders away allows flanking players to overwhelm them from showers.
Taking B Site
- A normal attack on B site is one or two players coming through Hookah, and another coming through long.
- The main area of Hookah can become a deathtrap. Defenders are going to be using utilities in this area. Keep this in mind! Especially if you’re under-stocked for a round and the enemy team has plenty to spend.
- Hookah can be used to draw fire with the teleporters there for repositioning.
- Often the teleporters bringing in defenders from the A site can force an attack to a standstill. Using walls or tripwires around the teleporters can help prevent this. The focus needs to stay on pushing into B site, not on fighting their entire team in a small area.
- Good coordination is important here. Have the Long and Hookah players in communication and relaying what’s happening. B defenders have a few different points they have to hold, make sure to spread their abilities as thinly as possible.
- If you plant the spike, then Hookah and the teleporter are going to be the spots you need to guard.
That’s everything you need to know from the Bind guide for Valorant. This map can be a lot of fun with the teleporters, but moving around the map at the right times and choosing the right chokepoints can make all the difference. Our other guides to Valorant can help you out with the rest of your performance:
- How to Get Valorant Skins – Guide
- Valorant Killjoy Guide – Abilities, Tips and Tricks
- Who is the Best Valorant Team?
- How to Counter-Strafe in Valorant
- The Best Valorant Team Composition
- Ascent Map Guide