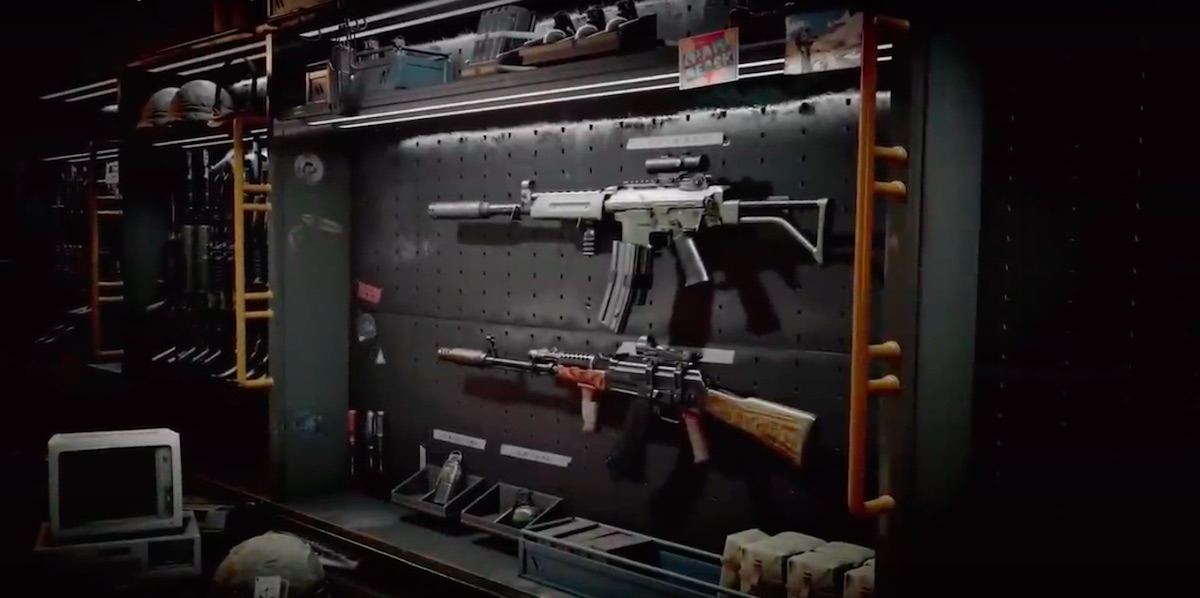
In Call of Duty games, your loadout is the most important thing to decide how you’re going to perform. Black Ops Cold War is no different. A well-made loadout can play to your strengths and give you the tools that you need to win. A bad one can leave you floundering. A good loadout is made up of the right weapons, perks, and Call of Duty Cold War equipment. Equipment is often the thing that holds mediocre players back. They simply don’t deploy it often enough and at the right times. On top of that, different players are going to need to make different equipment choices to come out on top. When used right, they’re part of a strong tactical attack. When used wrong, they become more of a panic button.
This guide covers all of the Call of Duty Black Ops Cold War equipment, and which types different players should use. Most of it is going to be pretty familiar to long-term Call of Duty players. However, revisiting all of your options in light of the different perks and weapons in this new game might be a good way to break out of an old routine. This is what you need to know about the Cold War perks, which players should use which, and how everything works.
Black Ops Cold War Equipment Guide – Full List

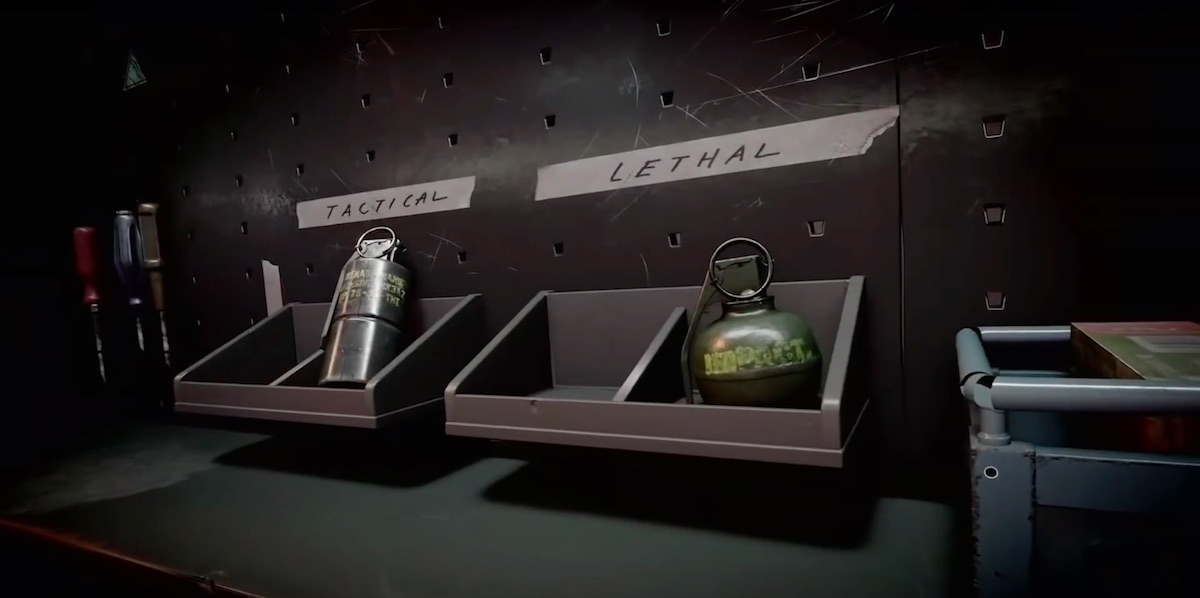
Black Ops Cold War equipment can be broken down into two different categories; lethal and tactical. One deals damage and the other is a bit more strategic. If you’re playing right though, both should be being deployed to maximize how lethal you are. You get one choice from each of these two categories. These are the options:
- C4
- Frag grenade
- Molotov
- Semtex
- Tomahawk
- Smoke Grenade
- Stun Grenade
- Flash Grenade
- Stimshot
- Decoy
Those are all of the Black Ops Cold War equipment, but which is right for your loadout? This is some more detail on all of the options and who should use bit of equipment.
Lethal Equipment – Call of Duty Cold War Equipment Guide
C4
- Unlocks at Level 12
C4 is an explosive and one that definitely has its charms. Since you get one lethal equipment, this one might end up being the choice by default for a lot of players. It’s the only option that isn’t a straight-up throwable attack. So if you’re playing aggressively and pushing constantly, you should probably take the C4. The real alternative for players whoa re pushing is the grenades to frag with, but the C4 has a lot of applications.
Frag Grenade
- Unlocks at Level 4
This is a fairly standard grenade and its best use is right there in the name; for fragging. Games like Valorant make fragging more important than Call of Duty, but a well-organized team will be able to do a lot of damage with fragging in Cold War. It doesn’t take too much strategy to throw this out at the right time and get some kills.
Molotov Cocktail
- Unlocks at Level 30
Named for the Soviet Foreign minister during the second world war, the Molotov Cocktail is an improvised weapon that creates explosives from household liquor and rags. As Call of Duty Black Ops Cold War equipment, it is a great tool for spreading fire and destruction. This can deal damage, but more importantly, spread panic. A well-timed throw can send an enemy team scuttling, giving you an opening. Some damage can be done, but players with the right timing can use it to disrupt a team’s effort picking up kills and progressing the objective.
Semtex
- Unlocks at Level 39
Semtex is a sticky explosive that you can attach to a surface then detonate. Semtex has a lot of applications and it often feels like the best of these for using tactically. It is similar to C4, but it has more utility. This is a piece of Black Ops Cold War equipment that works great for players who aren’t part of the front push. If you’re leading the charge, you probably don’t have time to mess around with Semtex. If you’re working a little more tactically though, you’ll find plently of opportunities to lay this down.
Tactical Equipment – Cold War Equipment Guide

Smoke Grenade
- Unlocks at Level 17
This is a grenade that explodes into a cloud of smoke. This is a pretty good move to clear an area, slow down an opponent trying to take an objective, or just make open space as you’re pushing ahead. This one is really quite versatile. It works as a fragging tool, but it also has value for players who are playing more reservedly. This can be a great cover for moving around and escaping as a sniper. It can function as a panic button to push your enemies away. It’s usually best to avoid panic, but go with what works. The smoke grenade can be countered by your enemies choice of perks though, so bear in mind that it won’t always actually work as intended.
Stun Grenade
- Unlocks at Level 4
The stun grenade incapacitates players that are in its vicinity. This is a good tool for clearing inside spaces and mopping up a good amount of kills. It doesn’t have as many applications if you’re not directly fragging. However, when under attack as a support player, throwing one out and switching to a shotgun can be a pretty effective play. It works as a stalling button in a firefight to re-position yourself to get the kill. To get the most out of the stun grenade you’re going to need to be able to remain calm under pressure. Along with that, you’ve got ot have confidence it quickly getting a kill after throwing it.
Stimshot
- Unlocks at Level 6
The Stimshot is a health item that heals you a little bit. This one has some obvious applications. Really how useful it is depends on your game mode. If you’re in a mode where death matters little, then there isn’t too much point to it. It is mercifully quick to apply though, which makes it a bit more useful to a lot of players. The Stimshot is helpful for healing, but you have to assess if you’re gaining more from using it than you’re missing out on by not using something else.
Decoy Grenade
- Unlocks at Level 33
This grenade plays fake footsteps to your enemies. It works great as a bit of misdirection. Given how much the audio clues seem to be factor into the game with Cold War, equipment like this is actually quite useful. This is a move that is going to work best for support players. Those pushing aren’t going to be in a situation where subterfuge has much use. However, if you’re playing more of a support role then a well-timed decoy can really confuse other players. This doesn’t unlock until your reach level 33, so you should have a grasp on the nuances of the game before you even get access to this.
Which Black Ops Cold War Equipment Should You Use?
Those are all of Black Ops Cold War Equipment. While a lot of players might chose to stick to the fragging options, there are plently of more support based options in the game too. Your equipment is just one part of your loadout though. Things can be pushed further by pairing that equipment with everything else. If you’re going for frags, go for perks that let you frag more.
If you’re going for decoys and tactical things to protect a sniper, then your loadout has to match that too. Along with choosing the best weapons out there, and once you manage to unlock them then the best attachments for those weapons too. The important thing to keep in mind with the Call of Duty Black Ops Cold War equipment is that its useless if you don’t use it enough. You need to making the most out of your loadout and throwing out the equipment often.
Our other guides to Call of Duty Black Ops Cold War can help you build the perfect loadout without having to go through so much trial and error.