Fortnite is one of the most popular games to Stream on Twitch. It can be a fun way to play and give you a chance to interact with others who share your hobby. It’s never been easier to start streaming Fortnite. You don’t need any special equipment, all you have to do is download a free program and register for a Twitch account. Then you’re good to go, sounds simple right?
The first step is to make a Twitch Account. Load up the Twitch homepage and go up to the top right. If you already have a Twitch account from watching streams, you can skip this step. If not, then sign up for an account in the top right. The screen name you chose will be the name your streaming under, so it’s a good idea to think ahead and be sure. This will be the name everyone will know you under. After you do the Captcha and give an email address, you now have a Twitch account. Confirm your email address, then you can start getting your stream ready.
1. Setting Up Twitch

Now that you’re logged in, you need to click on your screen name and navigate over to the dashboard. This is where all of your stream information is kept. The form on the left is where you set what your stream will be called and how people will find it. Choose a title for the Stream and remember to tag the stream with the category Fortnite. You can then attach some tags to help people find your stream. Now that all of this is set up, all you need to do is get the actual image of your game to broadcast.
On the left-hand side of your dashboard is a list of pages. Head over to Channel under the subheading Settings, at the top of this page is your Steam Key. This key will allow anyone who has it to broadcast on your channel, so be careful with it. Leave this page open for a little longer, we’re now going to set up your streaming program.
2. Setting Up OBS
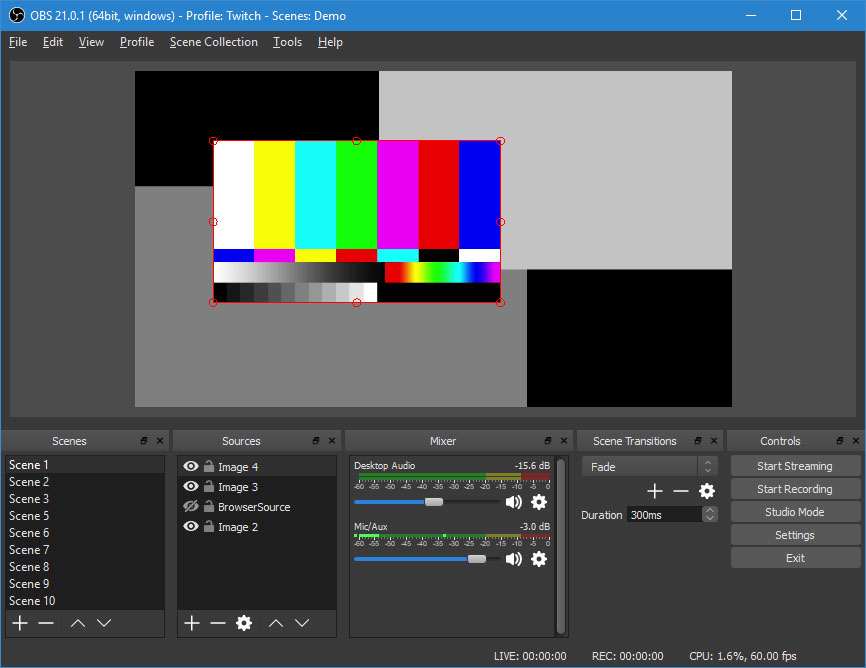
In another tab, head to the website for OBS. OBS is Open broadcast Software, it’s the software that’s going to let you broadcast whatever your computer screen is showing. The splash page gives you options for downloading the software, pick whichever operating system you’re using. The download shouldn’t take too long, it’s small software. Once it is finished, run through the installation process as you would with any other software and launch OBS.
Now that OBS is installed and opened, it should prompt you with an Auto-Configuration wizard. This tool will automatically configure a basic stream for you, so you should run through it. If not, it’s easy to set up yourself. Click on the bottom left to add a new scene. You then need to set a Video Source. Select ‘Display Capture’ from the video source menu. The image showing your stream in the center of the page should now display your desktop.
If you’d like to appear yourself on the side of your stream via your webcam, you can set this up now. Add a second video source, but this time select your webcam as the input. This should then appear on the screen. Drag the window and arrange it until it sits where you’d like your own picture to sit. If you’d rather remain off camera and let the gameplay do the talking for you, just ignore this step.
If you want to use an external microphone for better quality audio, you can connect this in the source’s menu. Add an audio input in this menu in the same way that you’ve added video input. With all of your inputs set up, all that’s left to do is go live!
3. Start A Twitch Stream
Navigate to your settings in OBS, this is in the bottom right of the screen. From here select stream, and select your streaming service. After you’ve picked Twitch, head back over to your Twitch dashboard tab. Copy and paste your stream key into OBS. This will now connect OBS to your Twitch account.
Once everything else is set, select start streaming on your OBS software. You are now live! You should be aware that once you hit this button, you are broadcasting for anyone to watch. Sometimes running OBS can slow down your computer a little, so you might want to make sure you’re equipped with the best gear to stream and play. Check on Twitch that everything is working right, and then it’s time to boot up Fortnite and start streaming!
2 comments
The display capture isn’t showing up when I select it
Check this thread out – may be able to help.
https://obsproject.com/forum/threads/possible-bug-display-for-monitor-capture-not-showing-up-on-obs.64686/
Comments are closed.