Call of Duty Cold War has a lot of features for players to get to grips with. First is the extensive loadout system, but even with the best loadouts in the game, you need to master the basics. This includes mechanics like getting better aim, using the right settings, and map knowledge. The maps in this game can vary greatly. From wide open maps to intense close combat areas. Each is well-developed and rewarding for the higher skilled player. Checkmate in particular can be a deceptively simple appearing map. While it is small and enclosed, you need to know how everything works around the map to get the most out of it. This Checkmate Cold War map guide covers what you need to know.
Checkmate is a map built almost entirely around a single area, at least a more contained area than a lot of other maps. In the center is a plane, and the hanger around has some containers and a bit more space. This is about all of the features on the surface. Beyond this though, the map actually contains some interesting geometry and can benefit a more measured gameplay style along with aggressive rush downs.
Checkmate Map Guide
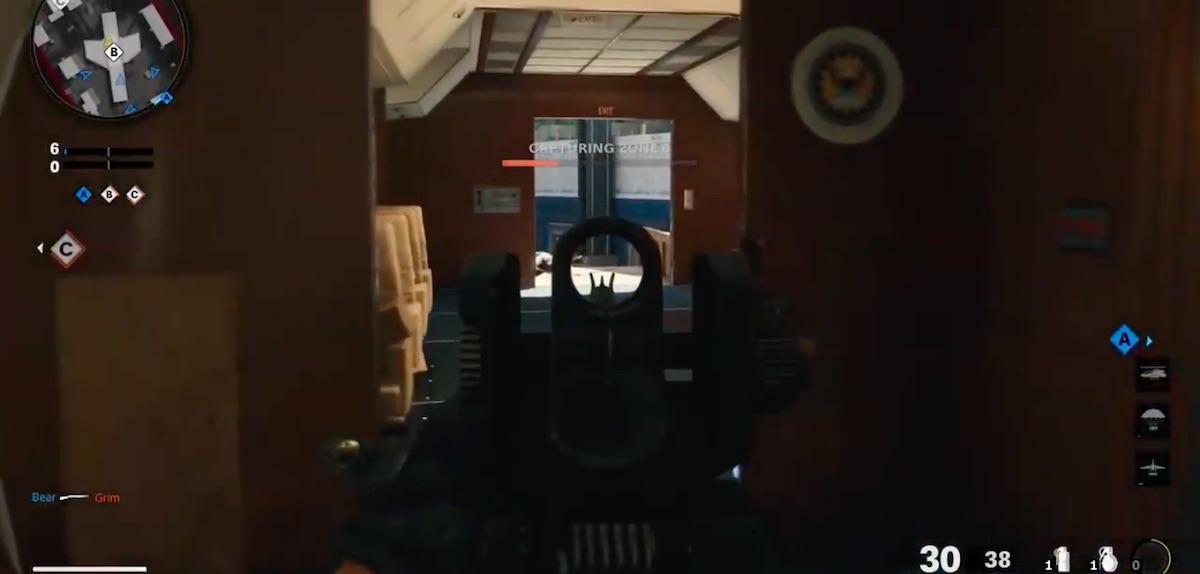
Checkmate is a training facility consisting of a fake airplane, a hanger area, and some containers around it. There are some interior sections and even areas that cut under for a multi-tiered approach. The layout of objectives on this map is all pretty central. With Domination and Hardpoint especially grouping nearly everything around the airplane. The map can be chaotic, but it has proven to be pretty popular. The small location gives the map a clear focus, but there is a bit more you need to get to know about it:
Elevated Platforms
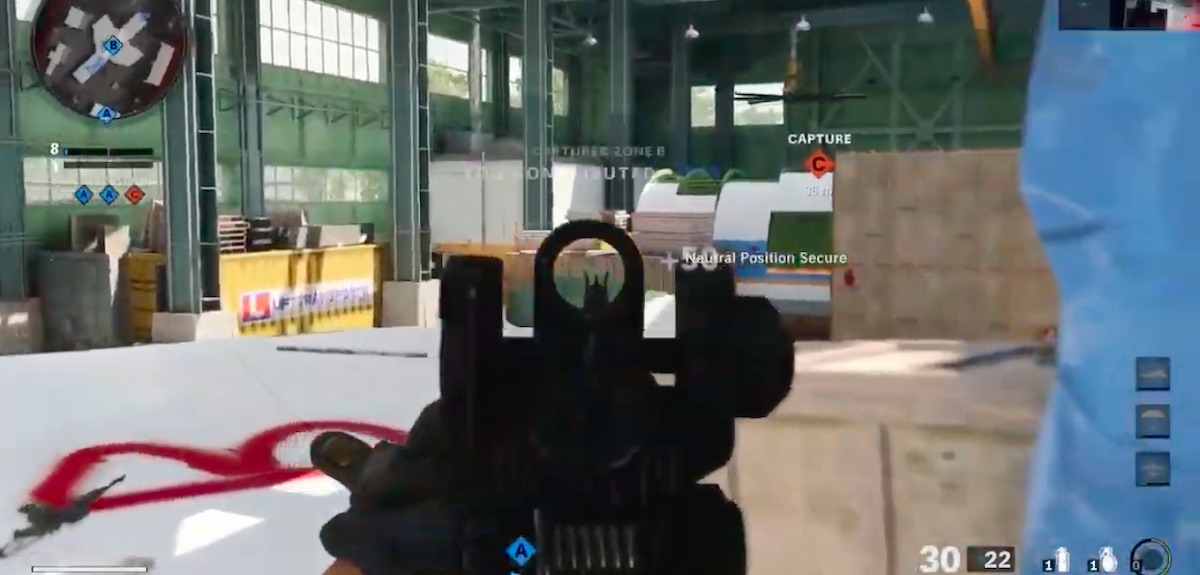
The map features elevated sections which give a better vantage point over the map. These are spread out so you can typically view the opposing half of the map. This means you’re nearly always at risk of tactical or sniper fire when in the open.
The Plane
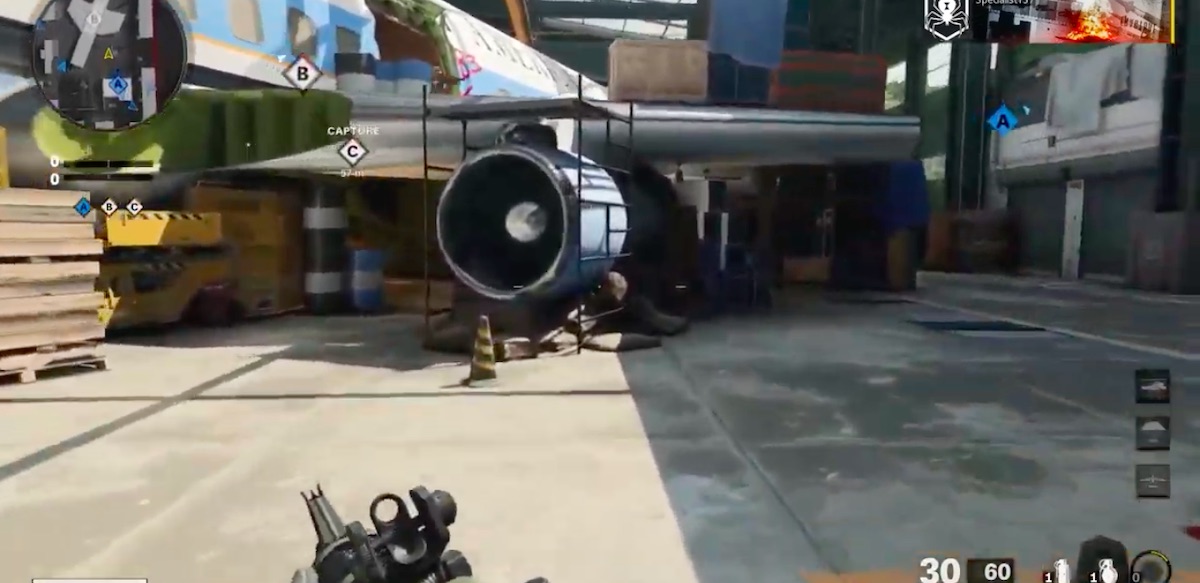
At the right center of the map, the fake plane itself can be a real focal point. Taking it can make map control simpler, but don’t feel like this is the only important part of the map. It might grab your attention but it is really just one area, taking shots at it can be just as important as rushing in to take the plane itself.
Lines of Sight
The containers spread around the map give a surprising amount of cover for such a small space. Checkmate can be a map where holding an angle and a line of sight comes in very handy. If you’ve played a lot of Valorant then switching to a more tactical and careful approach here could be beneficial.
Chokepoints
The Checkmate map is too small to have any major routes, the chokepoint tends to develop around the entire center and plane. This area is key to reaching nearly all of the objectives that can occur and it is the focal point.
Ammo
There is an ammo crate near the plane on Checkmate. Any team can use this to fill back up their ammo. This is pretty helpful, but be wary that it is an easy target for both teams as well as a resource.
Cold War Checkmate Tips and Tricks
Those are the main areas and factors to keep in consideration when playing Checkmate. These tips and tricks cover what else you need to know to excel on this map:
- The Plane – The plane just pulls players in, a lot of people focus on this section of the map exclusively. This is especially true in the opening stages of the game. So what do you do here? Don’t rush in unless you’re pretty sure of your position. If you’re taking the plane, take it slow and try to take down players gradually.
- Close Range Weapons – Given how much of the map is played pretty close-up together, close-range weapons are really the main arms for Checkmate. That doesn’t mean there isn’t room for other weapons, but SMGs are really going to be effective here.
- Scorestreaks – Scorestreaks that would logically need an open sky to work do still function here! So don’t overthink things. The roof does have an effect, but it doesn’t completely nullify the scorestreaks.
- The Platforms – The raised platforms on this level are useful for players who don’t want to get up and close. However, they don’t provide any cover so be aware that you might have to get down pretty quickly. This isn’t a permanent sniper’s lookout.
That’s everything you need to know for the Checkmate Cold War map. Our other guides to mechanics and loadouts in Cold War can help you improve anywhere else:
- Best Cold War Weapons
- Call of Duty Cold War Perks Guide
- Cold War Equipment Guide
- Call of Duty Cold War Field Upgrades Guide
- How to Build the Perfect Cold War Loadout
- Sniper Loadouts
- DMR 14 Loadouts
- MP5 Loadouts