Spellbreak gives players the choice of a number of different character classes. These give you a passive ability to enhance your play from the second the game starts. You can also collect scrolls to further augment your abilities. While players collect runes and equipment, you also need to be using your player class to get the most out of your build Ideally, you should tailor these abilities to your style of player and choice of Gauntlets. Each move you make can be supported by a properly chosen bonus skill. Bulwark is a player class that will be most useful to those specialising in close-combat and those in need of a stronger defence.
Bulwark is one of the easier classes to master. It isn’t too focused on high-level skills, so its scrolls will be useful for the majority of players. Since it is focused on close-combat and defence, it can be helpful to pretty much every player. Ideally, Bulwark should be combined with a Gauntlet focused scroll, this will allow you to specialise and boost your attack while having overall boosts from Bulwark.
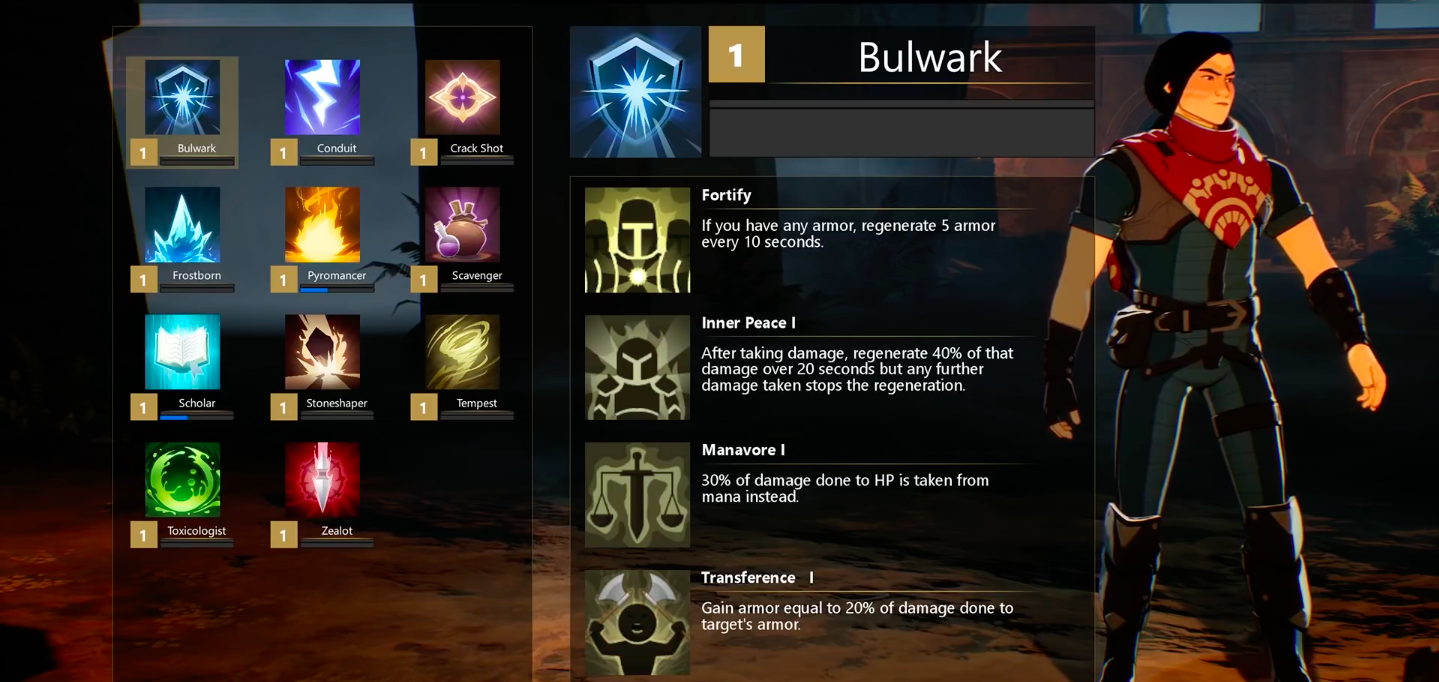
Bulwark passive ability is Fortify. When you’re wearing armor, you will regenerate 5 armor every 10 seconds. This skill is passive so it will work at all times providing that you’re actually wearing armor. There isn’t much skill in making the most out of this ability, aside from ensuring you prioritise looting certain equipment. This gives you a good baseline of defence before diving into the rest of Bulwark’s scrolls.
Bulwark’s Selectable Scrolls
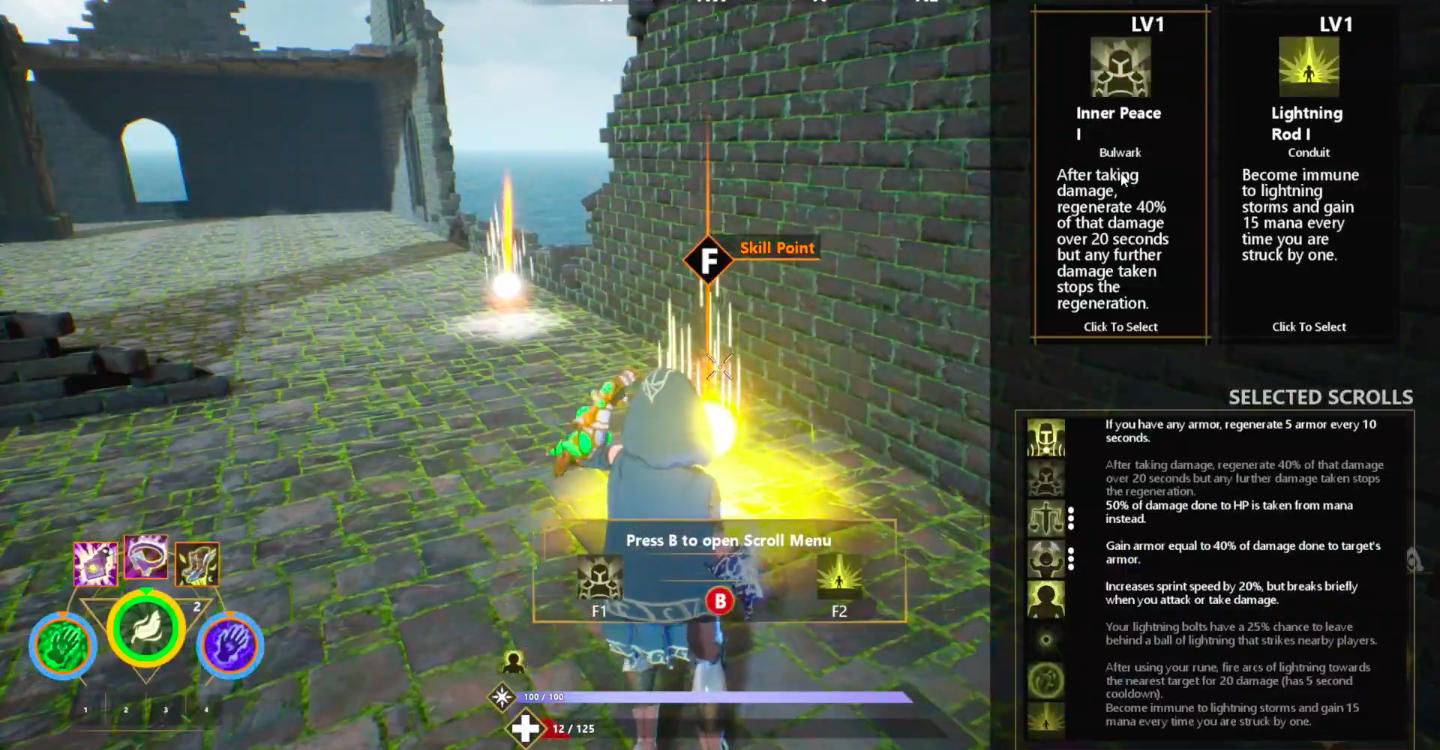
As well as the passive abilities that each character class gives you, you can augment these with additional selectable scrolls. Each time you gain a skill point you can access one of these and get even more stat boosts. Bulwark’s selectable skills should be prioritised over your other chosen class if you find yourself in need of more defence. If you’re continually getting involved in close combat, it is also worth investing in. However, none of the scrolls is so powerful that they should take priority.
The first selectable scroll is Inner Peace. After you take damage you will recover 40% of that damage over the course of 20 seconds. If you are damaged during this time the regeneration will stop and shift to a percentage of the new damage amount. When this is active you will have a good recovery as long as you get to safety, this can help you recover but it doesn’t do much when you’re completely overrun. You can upgrade this scroll to Inner Peace II and Inner Peace III, where you recover 55% of the damage taken and 70%.
The second scroll for Bulwark works similarly to the first but allows you to shift the damage you take. With Manavor, 30% of the damage done to you is taken from mana instead of your health. With Manavor II and III, 40% and then 50% is taken from your mana. This can work in your favour if RNG has blessed you with more mana boosts items than health, but a loss of either is still bad. This is probably the least useful of the three selectable scrolls and should be avoided unless it is the only option.
Transference and Good Pairing
The last selectable scroll for Bulwark is Transference. This skill gives you armor that is equal to 20% of the damage done to an enemy’s amror. As you upgrade it, you can get armor equal to 30% and 40%. This scroll is useful for letting you regain protection as you make eliminations. This is a scroll to prioritise if you are an aggressive player. Those who rush into encounters will regain some defence with this scroll, allowing them to play a bit more recklessly.
Each of these scrolls can compliment a number of Gauntlets well, but Bulwark is not a player class that is specialized to one particular element or another. A lot of the health-restoring abilities will be useful for players who take a lot of damage. This makes it a better match for close combat Gauntlets like Toxic than it is for long-range like Frost. With Runes, Bulwark will best match those like Blink which allow you to make the most out of close-range combat and manoeuvre in a tightly packed space. For team matches, this character class can really help you negate the effects of friendly fire. This can make it a good choice for one of your team members to use, along with a specialised Gauntlet class.
Bulwark is primarily a healing and armor related utility. It can help keep your health topped up, ensuring that you last long enough in the game to make it worthwhile. This can benefit most players, but it will especially help anyone prone to rushing into fights and sustaining damage. Since its scrolls are mainly geared around defence, you should adopt which scroll you select to your current circumstances. If you’re finding yourself taking damage often, then Bulwark can help keep you healed.