Haven is a unique Valorant map that can be one of the most challenging to use effectively. Mastering a Valorant map can be difficult, you’ll need to figure out how they interact with your main’s abilities. On top of that though, you need a good sense of positioning and how you need to operate around the entire map. So much of Valorant comes down to the line of sight and knowing the geometry of the maps really well. Players with a better map knowledge have a lot more game sense and win more rounds. Bind is a pretty well-balanced map, but it’s set up to allow for fast rotation and aggression. Haven comes with three bomb sites which make things more complicated for all teams.
This haven guide covers everything you need to know about the overall strategy for the map. While specific spots for each Agent will vary, there is a lot of overall strategies and approaches you to need to know.
Haven Guide Valorant Maps
This Haven guide is split into the defensive and attacking sides. The approach to the map is different depending on this. You’ll need to know about how to split up between different sites, and how your team needs to be distributed for rotation. Throughout this Valorant guide, we’ll be using some pretty standard call outs, its good to learn these, in general, to properly communicate.
Defending Haven Guide
Defending Haven is a bigger task then you’ll find with a lot of other Valorant maps. You have three different spots to split your attention between. Do this badly and you can be easily overwhelmed. This Haven guide covers more specific details, but there are two more general tips that are vital for Haven. You need a good and fast knowledge of rotation. It is really important here to move between different bomb sites fast and efficiently. What comes with this is the other key aspect, communication.
We can essentially say that communication is the main ingredient in any part of Valorant. However, when defending Haven you need to communicate which sites enemies are attacking and from which approaches. Without this information, your team is spread too thin. Your communication decides how and when to rotate, which needs to happen to win here.
Defending the C Site
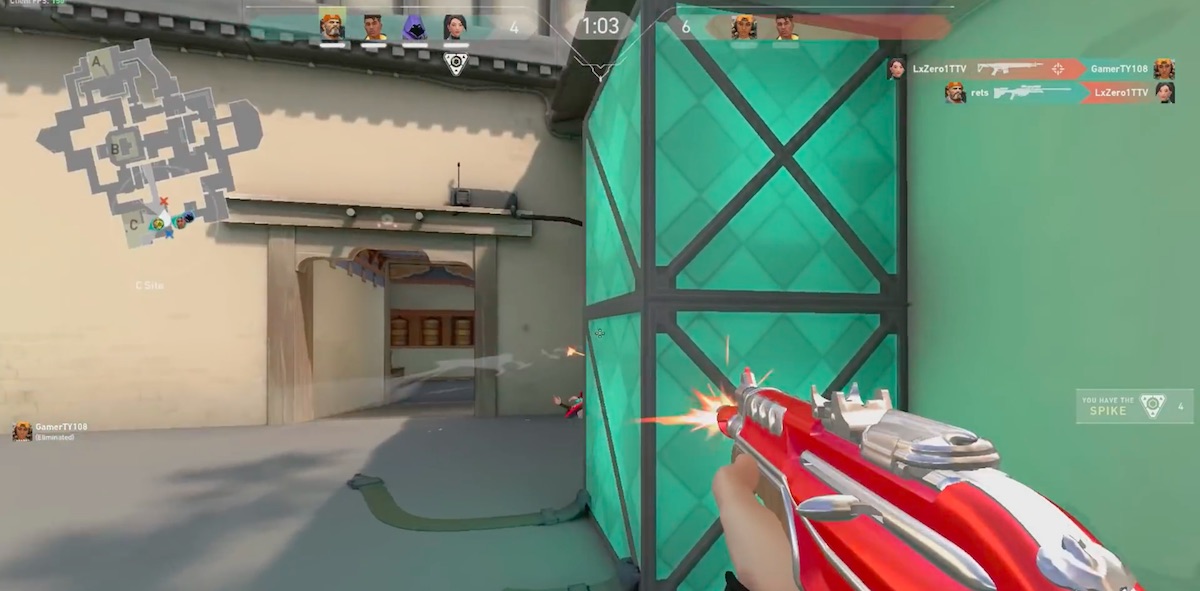
The C site is one of the more simple spots that you can defend. These are some tips and tricks that you need to know to defend the C site:
- Playing passively on the C site is a bit easier. If you have a team member who doesn’t want to play particularly proactively, then they’re the best choice for the C site.
- The main role for the C site is to hold off the enemies that might attack until your players can rotate in. Use abilities to hold them off if you have them.
- The way in is going to come from C Cubby/long or C short. C link is a possible entry point. However, it’s rarely used. C Short is quite close to the B site so there can be spillover from here. The C player primarily needs to worry about C cubby/long. C short has the same entry points as B. So the B site players should be able to inform you if something is coming down that chokepoint.
- The best agents for C site are Cypher, Sova, Viper, Brimstone.
- They’re all good for holding choke points or gathering intel.
- Brimstone’s smoke can hold C quite well.
- Use the drone to check angles before peaking when possible. This can really make managing multiple points easier.
- If you’re Jet, you can get on top of the box with a sniper for easy kills.
- The woodpile on the left side can be positioned around smoke for easy kills and a unique angle.
Defending the A site
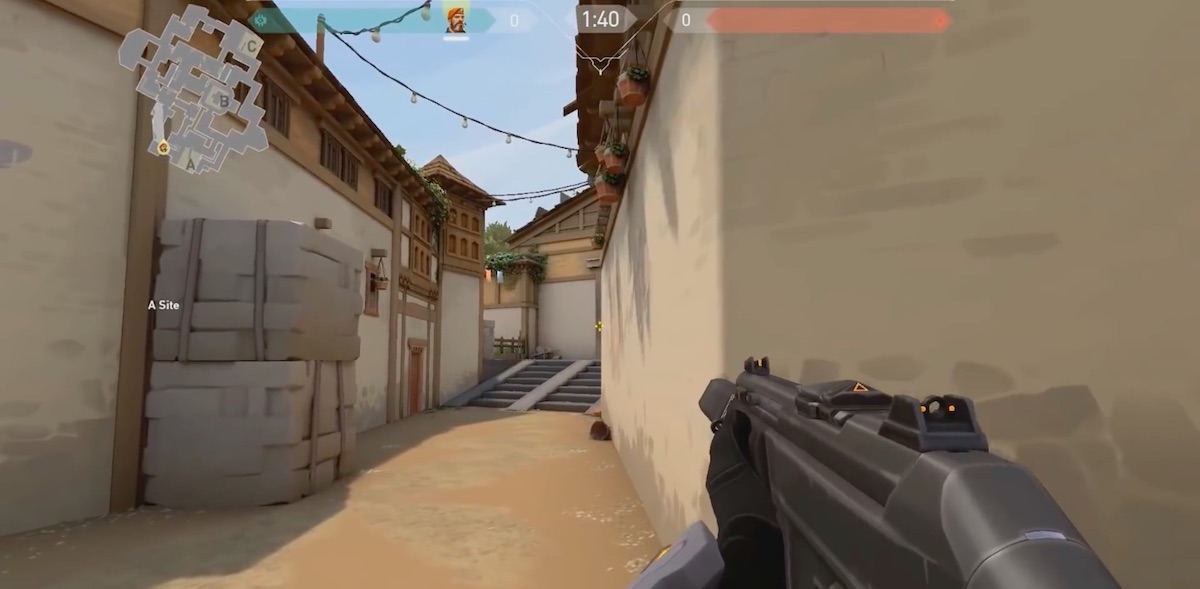
The A site is a bit more demanding than C, but it is an easier time than A. This Haven guide covers strategies for holding this site:
- The A site should have two players present to keep things under control. However, the second player on A should be mobile and able to leave for another site when necessary.
- Cypher, Sova, and Breach are the best agents here.
- This is about getting intel early.
- A short and A long are the two areas where you need to watch for attackers. The route to these sites has to be entered from the attacker side. B and C have quite a bit more crossover. A however is locked down the right-hand side, so attackers are pretty separated.
- This means you should be able to identify how many players are coming for the A site early. With this knowledge, your team can figure out how heavily attacked B and C are going to be.
- As with other entry points, abilities to hold off other players work fantastically here.
- Cyphers camera on A long can keep things safe. The corner for A short then gives you a generous line of sight to hold off attackers.
- Snipers aren’t as useful in A compared with other spots. You’re working with corners that don’t give enough space.
- If no one pushes towards A early in the game, you can push forward to the window and extend your control.
Defending the B Site
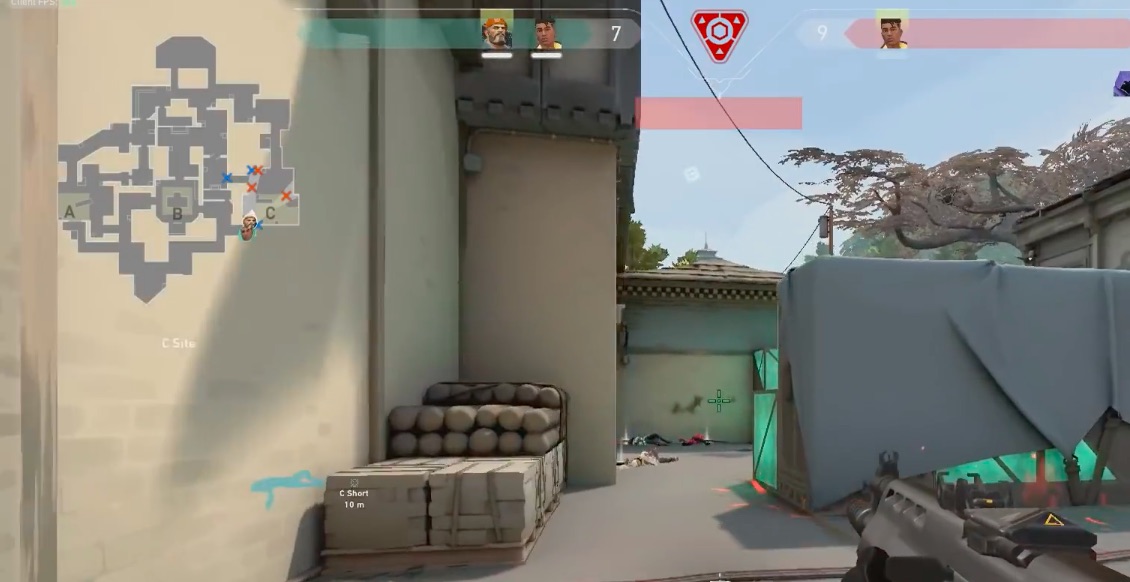
The B site is by far the hardest spot to actually defend. This area is more open and it’s right in the center. This attracts a lot of players. This is a Haven guide to defending the B site:
- B site is the hardest to attack, the upside of this though is that its hardest for attackers to hold if you mess up.
- The B site can be intimidating. Especially when playing alone. Holding B on your own is doable because of the restricted access. However, you need to have your team in complete coordination to rotate over if the enemy is completely rushing you.
- You have two options while you delay for the rest of your team on B site. The first is to play passively, and the other is to frag out in the site to try and stay in control. A lot of this is probably going to come down to your economy management more than anything else.
- Which of those options you take should really be done depending on the agent you play.
- Sage, Brimstone, Breach, or Phoenix are the best players to hold down B. Your playstyle is dependent on which agent.
- Aggressive players like Breach and Phoenix should be fragging forward by B site to get kills.
- Passive agents like Sage and Brimstone should hold enemies back slow them down while aggressive players there. The entry point from Mid Courtyard is the primary spot you not to do this in.
- The other entry point is from C Window. This spot is a long way around for the attacking team and they won’t try it unless they’re trying to break out of the big chokepoint.
- Keep your focus on the courtyard entrance, and relay the intel to the site is players are heading down the left entry.
Haven Guide – Attacking
Attackers have a different job in Haven. With a choice between three separate sites, your team has to be on the same page about where they’re heading. This Haven guide covers strategy for attacking of these points.
Attacking the C Site
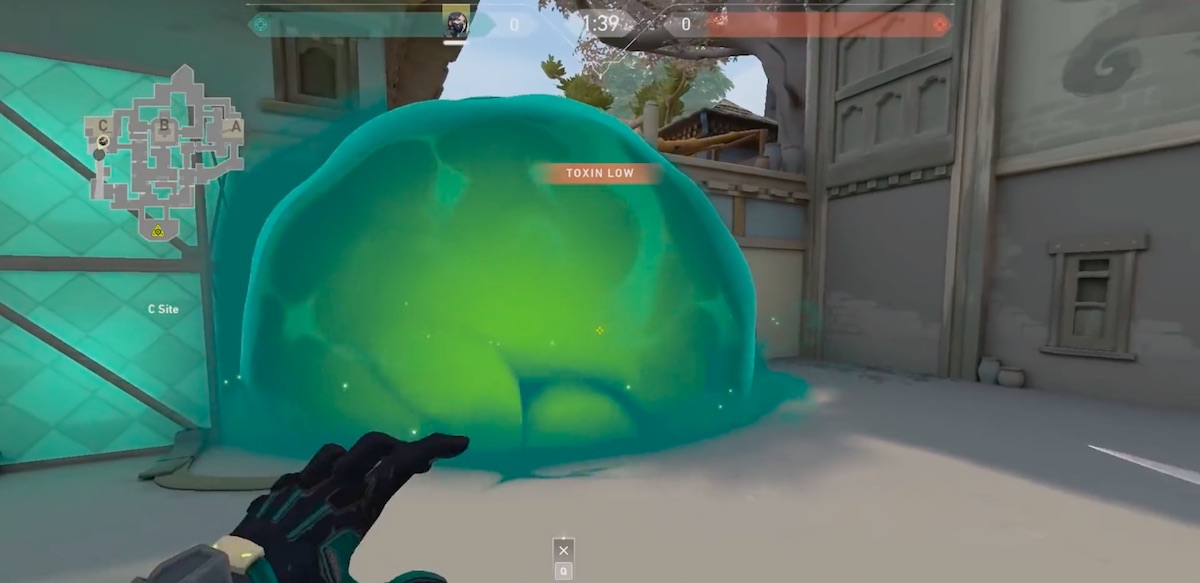
- Attacking C site is going to take quite a few players and pretty good coordination. There isn’t much you can do alone to try and take this one.
- Check the enemy team’s economy before you start peaking C. if you have something more than them, you can probably risk an attack. If you’re below them, you’re probably just going to feed them kills.
- C needs to be a whole team execution.
- C Long should be peaked with a teammate. Double peak, or have one play draw fire for the other. This is the safest way to down this line of sight.
- C side comes down to full team executions.
- The best agents for C are control agents.
- Cut the lines of sight to get a clear attack.
- Try to minimize your visibility with your abilities.
- C Long attackers might have to progress slowly. Attackers from C Short have a different task though. Use the second entry to increase the pressure and let C Long players make their way into the C site.
Attacking the B Site
The B site is maybe the easiest part of this haven guide. You have loads of different ways you can attack. This is what to know:
- The B site is probably the more forgiving to attack.
- Even if you’re alone, you have good options for attacking B. The window overlooking the bombsite can be used by a single player to peak if they’re confident enough.
- Playing slower with teammates can even work well here.
- Take the B site one angle at a time. Push in from windows over time. Use that entry point to bait out the abilities of the defenders. Once used up, you can push in with force.
- Take one angle at a time coming in from the windows gives you opportunities. Use this entry to bait out their utilities, then push in.
- Duellists are some of the best agents for this, but initiators are a big help to go along with them.
- Phoenix’s wall can cut through the entryways, to give a more forgiving entry.
- Once you’ve killed on the site, try to block off the rotation spots to keep control.
- Brimstone and Breach are best for holding this spot to cut off the players coming in.
- Brimstone’s ultimate can cut off a whole side.
- B has a lot of different entry points and viable strategies.
Attacking A site
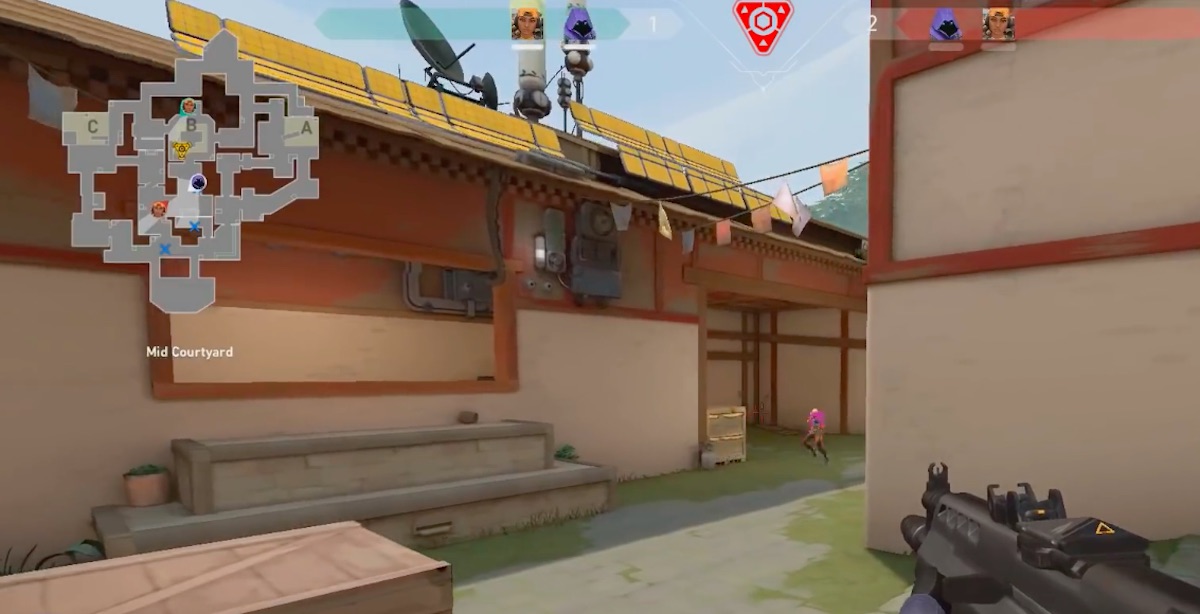
With an isolated entry point, you have more limited options when it comes to the A site. These are some tips and tricks to make a success of it.
- Attacking the A site has two different entry points. Thee is a short way and a long way. Both are entered from the A lobby. These routes are completely separate from those that go to B and C, so you’re more limited with rotation if you head to A.
- Working the short way to A is going to mean gradually peaking and pushing through the chokepoints.
- Aggressive players with flashes can make short work of this. In general, the faster you can push into A the better.
- Defenders have longer to go if they rotate around to A. It can be difficult to get there in time. Faster pushes take advantage of this, so hit hard and early if you’re planning on taking the A site.
- If you can bring a teammate or two, this fast and hard push has a much great chance of being successful. A isn’t typically the most guarded.
- You can defend the A site after taking it with your abilities. The entry point for defenders are limited, so you have a good chance of being successful here.
Haven is one of the most unique maps in Valorant, even if it is one that mainly takes from CS: GO. Our other guides to Valorant can help you out with other maps and with your general play in Valorant:
- How to Get Valorant Skins – Guide
- Valorant Killjoy Guide – Abilities, Tips and Tricks
- Who is the Best Valorant Team?
- How to Counter-Strafe in Valorant
- The Best Valorant Team Composition
- Ascent Map Guide